Intent : Secure VPN setup for bypassing firewalls. Not meant for setup of a virtual company network for secure exchange of information.
Step 1 : Setup a free tier AWS account. Can skip this step if an account is already setup. Login into your AWS account.
Step 2: Find a good location for your server. Your VPN server has to sit between the majority of the sites you access and you. For example, if you are in Asia and significant traffic is in US, HK and Tokyo make good choices. Take a look at the undersea cable map below to decide –

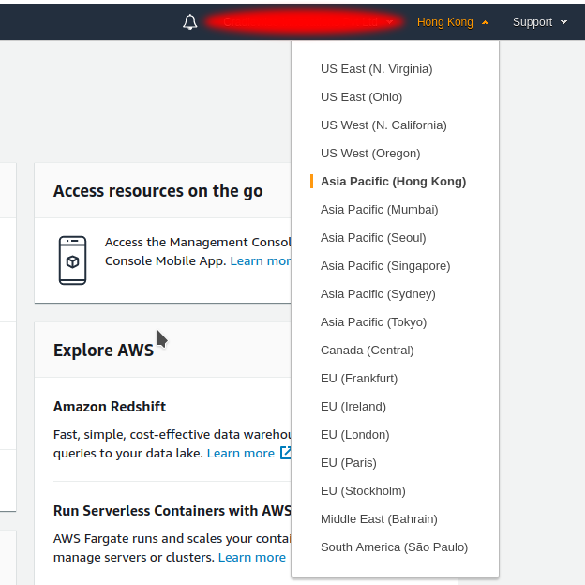
Step 3: Choose the region in the top right corner of your AWS console.
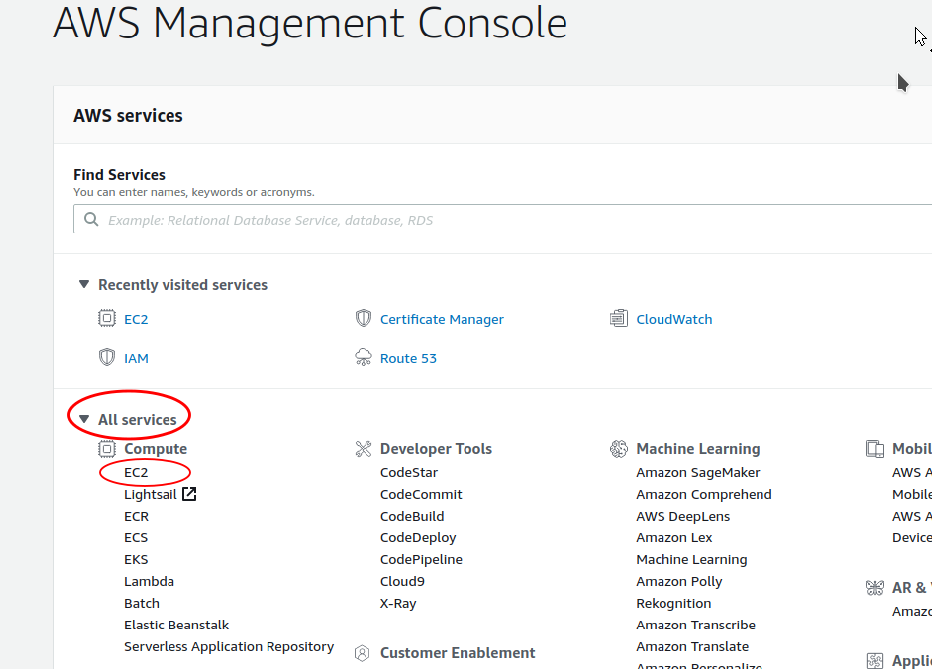
Step 4: Browse to EC2 service
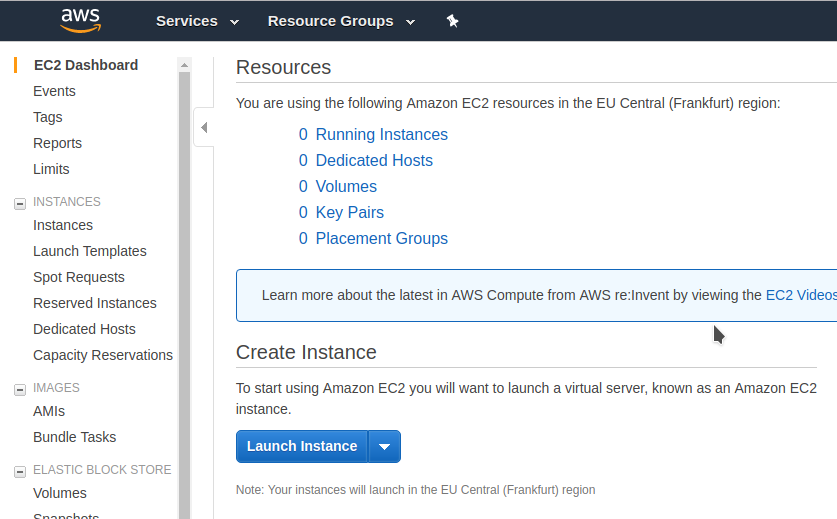
Step 5: Launch an EC2 instance.
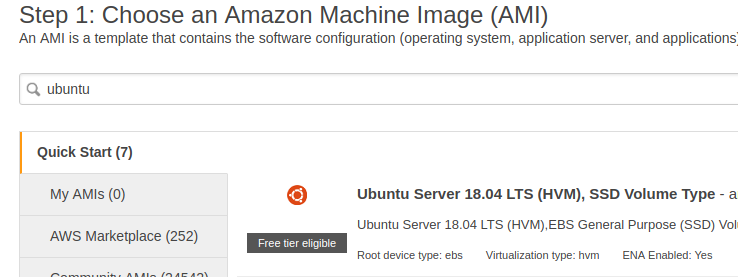
Step 6 : Search for ubuntu instance and choose the top result (64-bit, x86)
Step 7 : Launch the instance. You may be asked to create a key or choose one. If you are creating. Make sure you download the key and keep it safely. There is no other way of logging into the newly created instance if you don’t have the key. A couple of useful links are shown on the following page. If you are new to all of this, do check out the links to understand how to login into the instance.
Step 8: Login into the instance using the key.
Step 9: Prepare for fast encryption and decryption (install libsodium). . Read this page and you will understand why – https://bearssl.org/speed.html. Also, change the TCP congestion handling algo
#install libsodium
sudo apt-get update
sudo apt-get -y install python-m2crypto
sudo apt-get -y install build-essential
git clone https://github.com/jedisct1/libsodium.git
cd libsodium
git checkout stable
./configure
make
sudo make install
sudo ldconfig
cd -

#install BBR
wget --no-check-certificate https://github.com/teddysun/across/raw/master/bbr.sh
chmod +x bbr.sh
sudo ./bbr.sh
Step 10: Speed up the routing, congestion handling. Be extremely careful while copying and pasting these commands. You can completely mess up the system by getting it wrong.
sudo su - #all commands as root
echo  "net.ipv4.tcp_congestion_control = bbr" >> /etc/sysctl.conf
echo "* soft nofile 51200" >> /etc/security/limits.conf
echo "* hard nofile 51200" >> /etc/security/limits.conf
echo "session required pam_limits.so" >> /etc/pam.d/common-session
echo "ulimit -n 51200" >> /etc/profile
Step 11 : Install and configure shadowsocks
sudo apt-get -y install shadowsocks
Edit /etc/shadowsocks/config.json
{
   "server":"0.0.0.0",
   "server_port":8888,
   "local_address": "127.0.0.1",
   "local_port":1080,
   "password":"12345678",
   "timeout":300,
   "method":"chacha20",
   "fast_open": false,
   "workers": 1,
   "prefer_ipv6": false
}
Step 12: Go to the EC2 console and edit the security group on AWS to make sure the required ports a open.
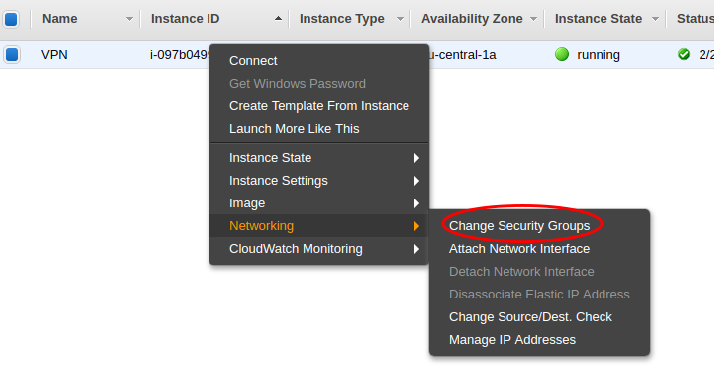
Note the name of the security group. Then go the security groups in the EC2 console.
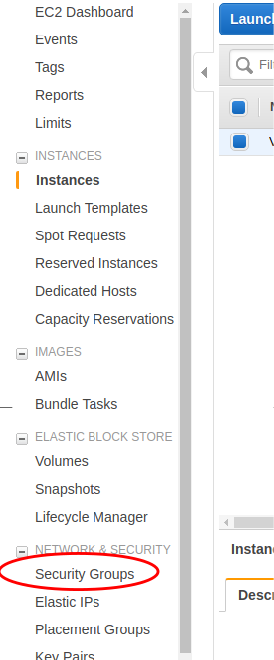
Choose, the security group noted in the earlier step. Although not advised, just for simplicity sake, just open all ports from 1000 onwards for both TCP and UDP –

Step 13 : For client side setup, follow the instructions, go here – https://shadowsocks.org/en/download/clients.html